
December 2: Drum making and palace players
On our third day in the field we focused on two things:
1) Understanding better how the royal drums of the Buganda Kingdom are made
2) Interviewing other surviving musicians from the Buganda Palace
Here’s our summary of part one:
Part One: Drum Making
The Singing Wells team was joined by James Isabirye today as we travelled to Mukono, to visit Ssebengwa Drum Makers (P.O. Box Mukono near Colline Hotel, Jinja Highway, opposite the Pork Joint). The shop is run by Abass Mirimu, a gentleman from the famous village of Mpambire which is known for its drum makers. Abass was the maker of some of the Entenga drums (the royal drums of the Buganda King).
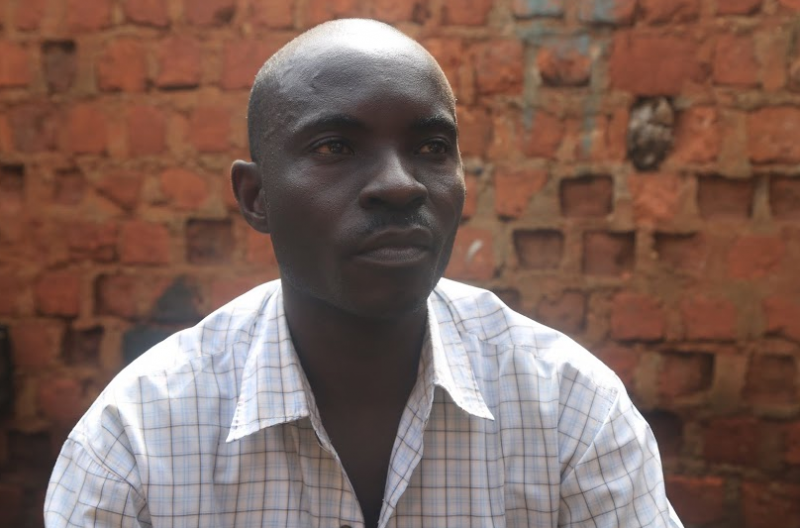
Above: Abass Mirimu
To be specific, in the 15 drum set up we described here, Abass made the three standalone drums on the far right of the set up. We interviewed Abass on the steps of drum making. These are:
1. Preparing the wood
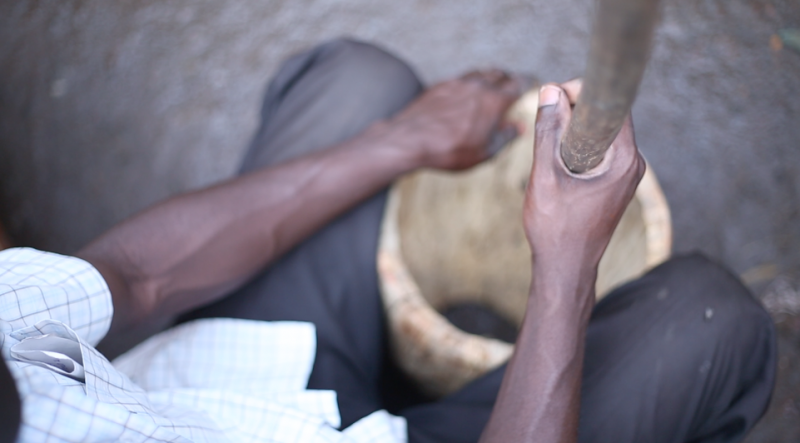
“You cut a tree and then you cut individual pieces – long for long drums, short for short drums. Then you bore the hold into the log,” (the tool used is Ekifumu) “you then let the wood dry in the sun.” Here Abass showed us a wooden ‘pail’ that had the rough outline of a small drum, but needed to be hollowed out. He did this by carving deeply into the wood with a large scraping tool that he used to carve wood from the centre.
2. Cutting the wood to size
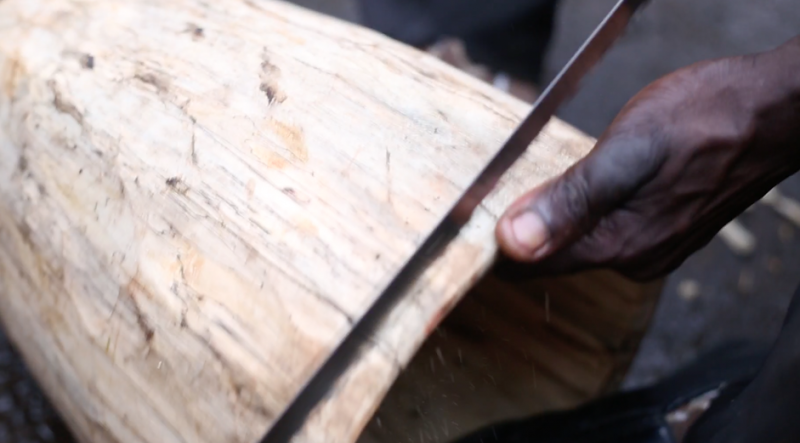
“You then cut the wood to size” (the saw used is called a Musumeni). He then used a large handsaw to trim the wood from the ends of the wooden drum frame.
3. Preparing the outside of the drum
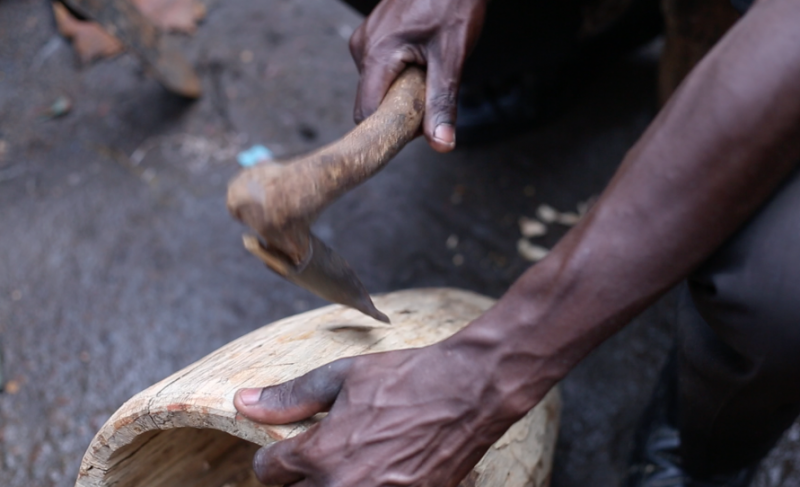
“You then focus on the outside of the drum and prepare it” (the tool used is Embajjo). He had a second carving tool that he then used to shape and smooth the outside of the drum. The goal is to make it very smooth so the skin forms around it tightly.
4. Cutting and soaking the cow hide
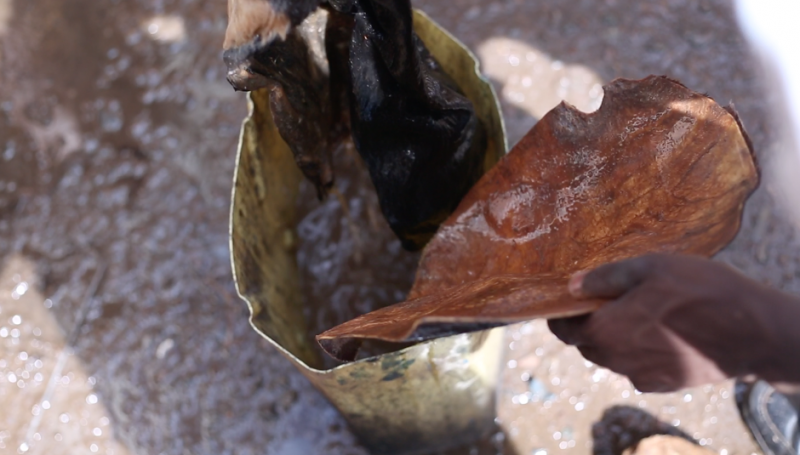
“You then size up the skin for the top and bottom of the drum and you let it soak in water for 24 hours until the skin is soft. You use the skin of a cow to do this, and we pick Uganda’s breeds where skin is very strong.” He cut and fit two pieces. The first, in the form of a circle, is for the top of the drum. He cut the skin about 50% bigger than the drum top by putting the drum head down on the skin and cutting around. The second piece is for the bottom and will wrap up from the bottom of the drum and end up about 50% up the drum’s length. So this piece was about 30% larger than the drum’s bottom, which is smaller than the top.
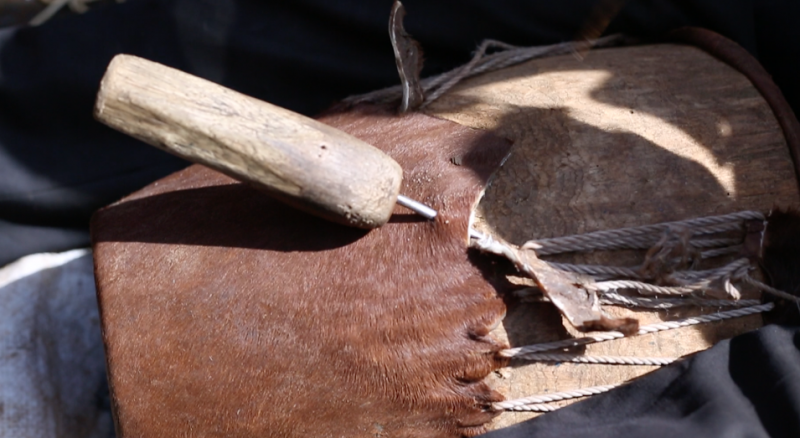
5. Stage one of stringing the drum
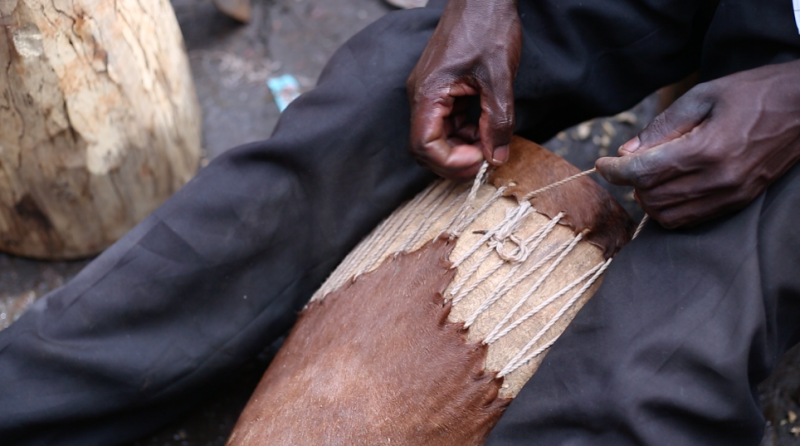
In the first stage of stringing the drum, “you tie the top skin and bottom skin together with nylon strings then take the tied together drum and put this into the sun for 24 hours.” This is a hugely skilled job. Essentially, he is tying the top skins to the bottom skin through a series of stitches that wrap around the drum. The top is pulled evenly down about two inches over the lip of the top. The bottom is a more uneven cut and so sometimes the bottom skin is tied to within an inch of the top skin and sometimes within four inches or so. He creates the stitches by punching an awl through the edge of the top or bottom skin to create a hole to lace the string through and then pulling tightly. At this stage, this is nylon rope. The end result looks like a drum, with the skin tight along the top and bottom and stitched together along the edge.
6. Preparing the cow hide strings
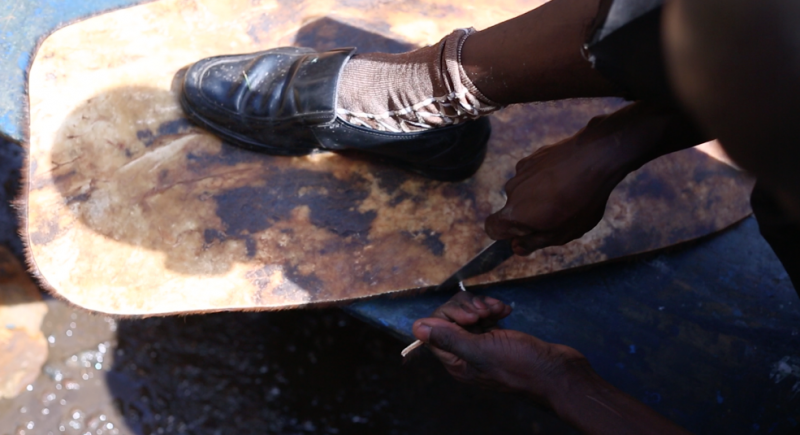
“I then cut animal skin strings by cutting around the skin to create a very long rope. I then take these long strings and soak them in water for 24 hours until they are very soft.” To do this, he takes a big thick piece of cow hide and then cuts around it in a long circle, going around and around, creating strings over 40 feet long. The skill involved to do this of even width without cutting the string off is amazing.
7. Drying and rolling the cow hide strings
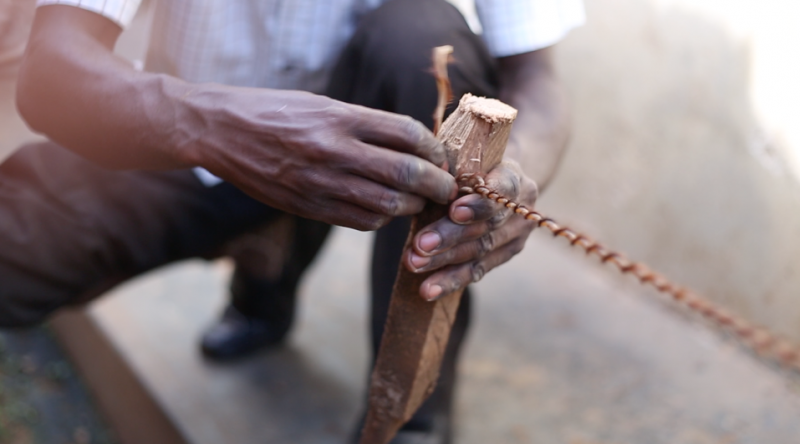
To dry and roll the long strings he takes us next door to an alley, where he has put together very long strings, tied between a banana tree and stick in the ground. “After creating the strings I tie them between the banana plant and this stick in the ground and let them dry. Then, I rub the strings against my leg to make them very twisted without being torn. If the skin is good I can get them very tight. I then let these dry again. I may only leave it for 30 minutes or longer depending on the sun.” He is rolling the string along its length, much like you’d roll out dough between your hands to make it long and thin. But he does this by rolling about a foot of string against his leg round and round until the entire length is tightly twisted.
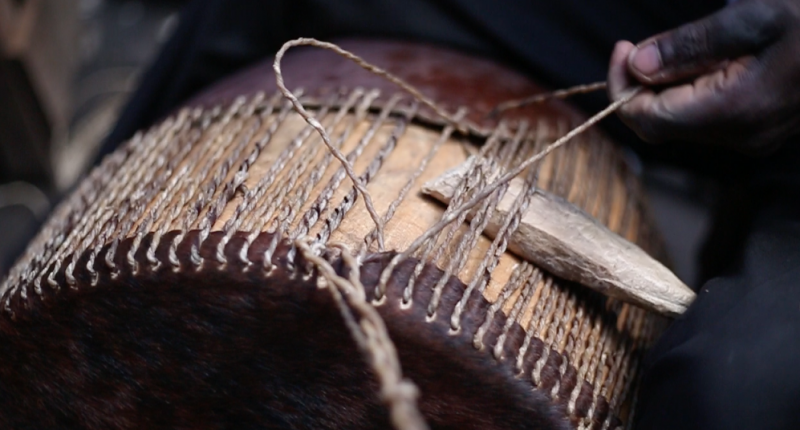
8. The second stage of stringing the drum
“Now, I have to restring the drum, replacing the nylon strings with animal skin strings. As I do this I cut away the holes from the old strings. As you can see the drum skins stick on the wooden drum. The first stage of stringing is called ‘Amabago.’ The second stage is called ‘Okuteekeko Endere’ (red).” He then gave an example of how he does this step in detail. For this he uses knife and awl. For tuning he uses the following instruments: the knife (Akambe), awl (Olukato), hammer (Ennyondo) and wedge for tuning. For this step, the re-stringing, he stopped after a few strings, explaining that he was ruining his drum by showing us. Here, you saw the real skill levels of the drum maker. With his hands moving very fast, he was taking out the stitch of nylon string, cutting off the former holes, creating new holes and re-lacing the drum skins together with leather strings. Very fast.
9. Tuning
The final stage is tuning. He showed us in detail how he uses the four instruments to tune, using a new bigger drum that is already stringed with animal skin strings. “I fix the wood, hammer them in to stretch the strings and then use the awl to pull the string up and then move to the next hole, tightening and tuning as I go. This is very dangerous and I can miss and put the awl in my eye, or miss on the knife and slice my fingers off, or miss with the hammer and damage my legs. Many drummers have severe eye injuries or missing fingers. If the stringing of step 8 was fast, with awl and knife in a chaotic dance with his fingers, this step was a very noisy dance floor, where we’ve added a wedge and hammer. He’s going to each stitch of the leather string and tightening through four or five movements, and between each he points the drum to hear the tone. Quite a dance. He then explains tuning further: “Never buy a drum that has been tuned in the sun, or when the drum is too dry or too hot from the sun. This drum will always be too low – because as the skin cools it will lower in pitch. I only tune very cool drums inside and my drums will never go out of tune in the sun. As the sun dries them and the pitch rises, you simply wet them down to keep them in tune.” Here, we learn that drums must leave the drum maker with a tendency to pitch higher – that is, the sun will tighten them. You can always ‘loosen in the field’ with water and pounding of the fist on the skin (as we saw our royal drummers do), but you can’t pitch lower without going back to the drum maker to re-tighten the skins.
Abass makes beautiful drums and he is very generous with his time. He educated us for almost two hours during a very busy day in his shop. We are proud that we have his drums as part of our royal drums. We asked him if the royal drums used in the palace pre-1966 would have been made in his village. He responded, “They would all have been made by people in our village. But for royal drums, our drum makers were invited to the palace to make the drums on site, next to the King.” He said that every child in his village loved to make drums and viewed it as a good trade to create pocket money. “If you ever need money as a child, you helped the drum makers and learned the craft.” Abass did this and was a casual drum maker with a friend of his. But then his father passed away and he need to start a career and chose drum making as his job going forward. We’re glad he did.